
Before you can start streaming with your mobile on match day, make sure you've first completed the following steps:
- You're set up with everything you need: What you need to stream with your mobile phone
- You've set up your FrogBox Go account: How to set up your FrogBox Go account for mobile streaming
- You've downloaded FrogBox Go Lite: How to download the FrogBox Go Lite app
- You've scheduled your match in FrogBox Go Lite: How to schedule your streams on FrogBox Go Lite
Once you've actioned the above, now it's time for your stream to go live.
Preflight Checks & Camera Warm-Up
Step 1: Mount your mobile phone securely on your tripod and open the FrogBox Go Lite app.
Step 2: Locate your scheduled match card on the Dashboard.
Step 3: Tap the match you want to go live.
Step 4: Review the PREFLIGHT CHECKS screen. Verify that:
Upload speed is sufficient and marked green.
Battery has adequate charge (we recommend keeping your phone plugged into a portable power bank).
Camera & mic status displays as Ready.
Step 5: Tap Camera to open the preview overlay screen.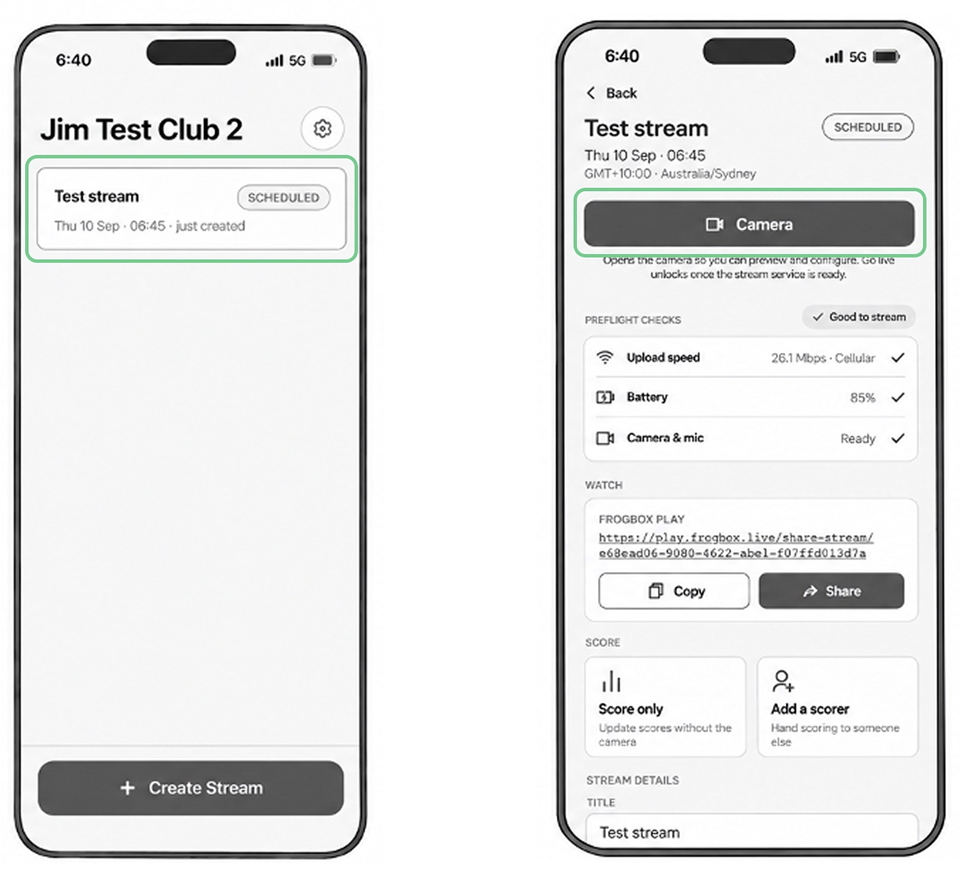
Starting the Live Stream
Step 6: Once in camera mode, look at the status pill in the top-right corner.
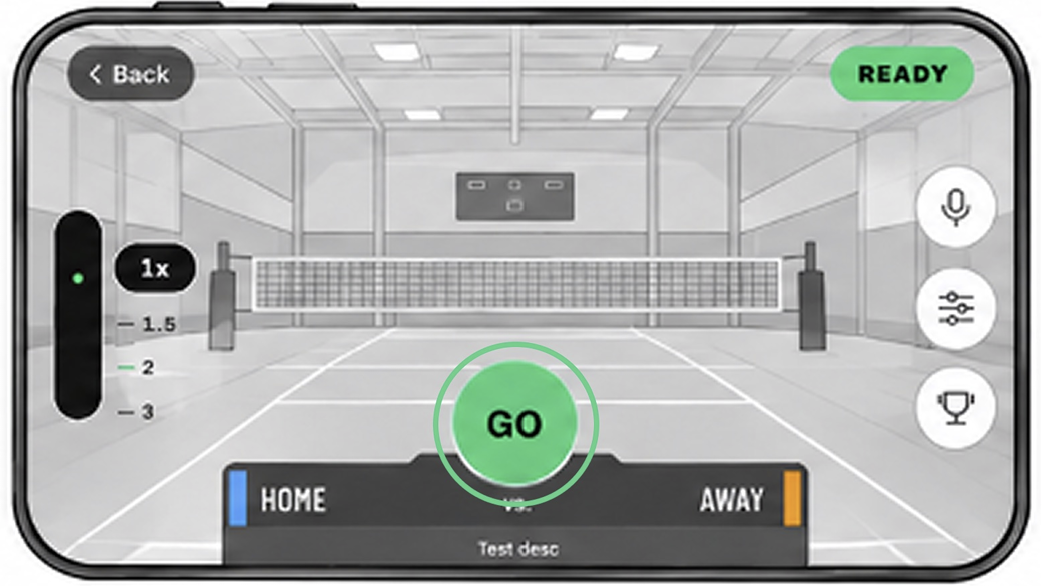
Step 7: It will initially display a blue STARTING message while the streaming server initialises. This process may take a couple of minutes. Wait until the status pill turns into a green READY badge and the central GO button turns green.
Step 8: Tap the green GO button.
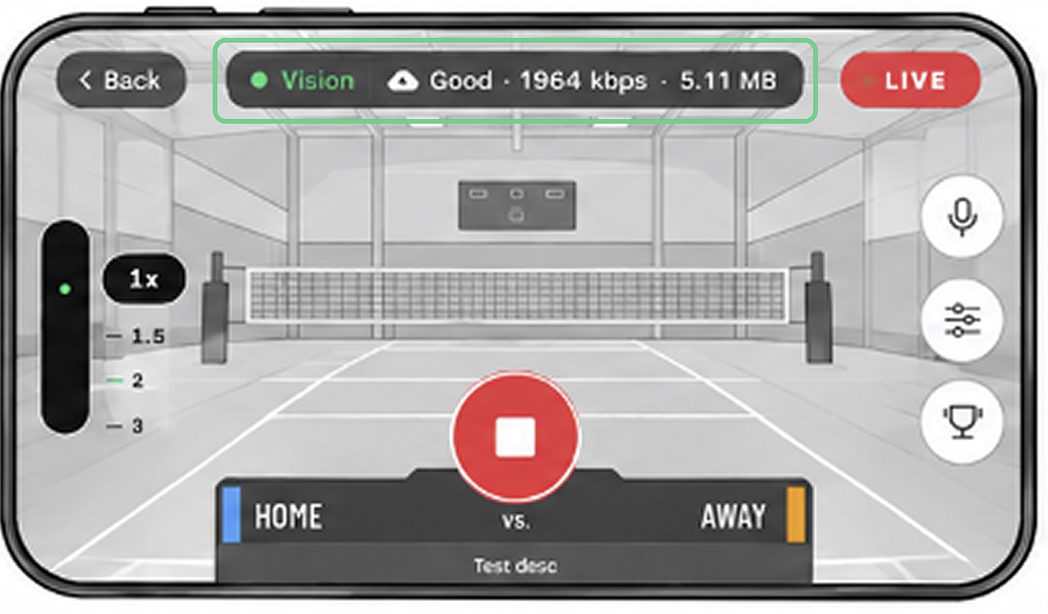
Step 9: Your broadcast is now active! Confirm you are live by checking the top bar:
VISION: Should display green.
SIGNAL: Should display Good with active bitrate numbers (e.g., 1964 kbps).
LIVE Badge: Should show a solid red light in the top-right corner.
Step 10: Update your live stream with live scores in real time. Here's how: How to Live Score on FrogBox Go Lite
Step 11: Once your match has finished you can end the stream by taping the stop button.
Step 12: When your stream has finished, track your club's reach with FrogBox Go analytics.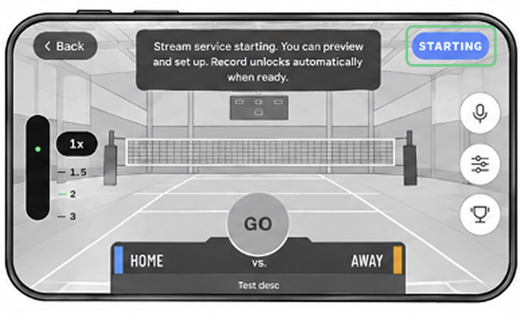
NEXT STEPS: Learn how to manage the score overlays shown to your viewers in How to Live Score on FrogBox Go Lite and FrogBox Go.
NEED HELP?
Submit a FrogBox Support Ticket or please contact our Support team at support@frogbox.com. Please provide your club details so our team can assist you.